스프링부트와 Gradle을 통해 Swagger 2 시작하기
자바에서 API 명세 문서를 작성하는 Swaagger 2 프레임워크에 대하여 알아보는 글입니다.
학습 목표
- Swagger가 필요한 이유
- Swagger 초기 설정하기
- Swagger UI 설정하기
- Spring Data REST
Swagger가 필요한 이유
현대에는 웹어플리케이션을 프론트엔드와 백엔드로 나눈다. 대개 프론트엔드 구성요소와 써드파티를 위해 백엔드 구성요소로 API를 노출해야 한다.
이때 백엔드 API를 위한 명세서는 꼭 필요하다. 동시에 API 문서는 유익하고, 가독성이 좋으며, 따라하기 쉬워야한다.
더욱이 레퍼런스 문서는 모든 변경 사항을 설명해야한다. 이를 수동으로 작업하는 것은 매우 지루한 작업이기 때문에 자동화 작업은 불가피해졌고, 이때 사용할 수 있는 도구로 Swagger가 존재한다.
이 글에서는 Swagger 2 사양을 따르는 Springfox 구현체를 사용하여 스프링 부트에서 Swagger 2를 사용한다.
▶ 먼저 스프링 이니셜라이져(https://start.spring.io/)를 사용해서 스프링 부트 프로젝트를 생성한다. 여기서는 java 11, 스프링부트 2.4.4, Gradle, Spring Web 설정을 사용한다.
스프링 부트 프로젝트를 생성하는 방법을 모른다면, 다음 글을 참고하자.
https://scshim.tistory.com/212

Swagger 초기 설정하기
▶ 생성한 스프링 부트 프로젝트의 build.gradle파일에 다음과 같이 Springfox 구현체 의존성을 추가한다.
dependencies {

  //생략//

  compile group: 'io.springfox', name: 'springfox-swagger2', version: '2.9.2'

}
▶ 다음으로 Swagger 설정을 위한 SpringFoxConfig 파일을 생성한다.
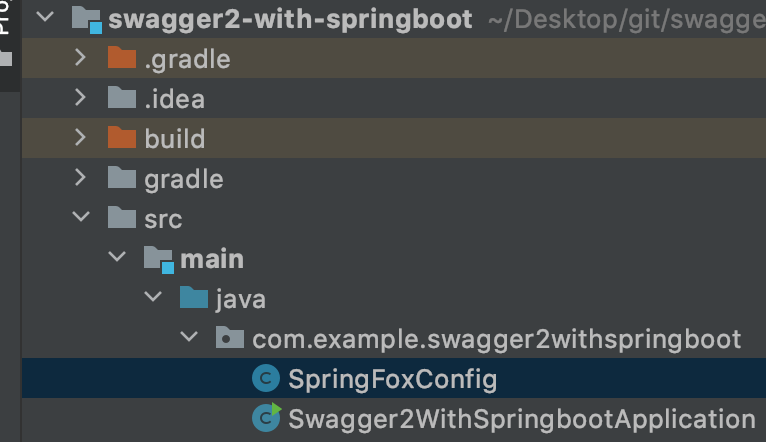
파일 내부에 다음과 같이 작성한다. Swagger 설정은 주로 Docket bean을 중심으로 한다.
import org.springframework.context.annotation.Bean;
import org.springframework.context.annotation.Configuration;
import springfox.documentation.builders.PathSelectors;
import springfox.documentation.builders.RequestHandlerSelectors;
import springfox.documentation.spi.DocumentationType;
import springfox.documentation.spring.web.plugins.Docket;
import springfox.documentation.swagger2.annotations.EnableSwagger2;

@Configuration
@EnableSwagger2
public class SpringFoxConfig {

   @Bean
   public Docket api() {

       return new Docket(DocumentationType.SWAGGER_2)
               .select()
               .apis(RequestHandlerSelectors.any())
               .paths(PathSelectors.ant("/**"))
               .build();
   }
}
Docket been에서 select() 메서드는 ApiSelectorBuilder 인스턴스를 리턴하여, Swagger에 의해 노출 된 엔드 포인트를 제어하는 방법을 제공한다. 그 아래의 RequestHandlerSelectors와 PathSelects은 RequestHandler를 선택하기 위한 설정을 돕는다.
위 설정은 RequestMapping으로 할당된 모든 URL 리스트를 추출해서 화면에 노출시키는 설정이다. PathSelectors.ant("/**")를 PathSelectors.any()로 변경해도 동일한 설정이된다. 만약, 필터링되는 url의 범위를 “/api” 주소 하위로 한정하려면 다음과 같이 설정한다.
.paths(PathSelectors.ant("’api/**"))
설정이 완료된 후 스프링부트 프로젝트를 실행하여 다음 주소로 접속하면, Springfox Swagger가 정상적으로 작동하는지 확인할 수 있다.
http://localhost:8080/v2/api-docs
▶ 결과는 JSON으로 보여진다. 딱 보아도 가독성이 굉장히 떨어진다.

이러한 데이터의 가독성으로 높이기 위해 Swagger UI가 필요하다.
Swagger UI 설정하기
▶ build.gradle 파일의 Springfox Swagger UI 의존성을 추가한다.
dependencies {
  compile group: 'io.springfox', name: 'springfox-swagger-ui', version: '2.9.2'
}
▶ 스프링부트 프로젝트를 다시 시작하고, 다음 주소로 접속한다.
http://localhost:8080/swagger-ui.html

위에서 확인한 json 페이지보다 훨씬 가독성이 좋다.
Swagger를 통해 애플리케이션에 정의된 모든 controller의 목록을 확인할수 있다. 목록 중 하나를 무작위로 클릭하면, 유효한 HTTP 메서드(DELETE, GET, HEAD, OPTIONS, PATCH, POST, PUT)가 나열된다.
각 메서드를 확장하면 response status, content-type, parameter 목록과 같은 유용한 데이터가 추가적으로 제공된다. 또한 UI를 사용하여 각 메서드를 실행하는 것도 가능하다.
Swagger를 통해 우리의 코드베이스와 동기화하는 기능은 매우 중요하다.
▶ 현재 스프링부트 프로젝트에 Controller를 추가한 후 Swagger 문서를 리프레시한다.
import org.springframework.web.bind.annotation.RequestMapping;
import org.springframework.web.bind.annotation.RequestMethod;
import org.springframework.web.bind.annotation.RestController;

@RestController
public class CustomController {

   @RequestMapping(value = "/custom", method = RequestMethod.POST)
   public String custom() {
       return "custom";
   }
}
새로 생성한 컨트롤러와 내부 메소드가 문서에 추가된 걸 확인할 수 있다.

Spring Data REST
Springfox는 springfox-data-rest 라이브러리를 통해 Spring Data REST를 지원한다.
▶ build.gradle 파일에 다음과 같은 의존성을 추가해보자.
dependencies {
  implementation group: 'io.springfox', name: 'springfox-data-rest', version: '2.10.4'
  compile('org.springframework.boot:spring-boot-starter-data-jpa')
  compile('org.springframework.boot:spring-boot-starter-data-rest')
  compileOnly('org.projectlombok:lombok')
  runtimeOnly('com.h2database:h2')
}
▶ 다음으로 User라는 이름의 entity 클래스와 User entity의 CRUD 기능을 더할 UserRepository를 생성한다.
import javax.persistence.Id;
import javax.persistence.Entity;

@Entity
public class User {

   @Id
   private Long id;

   private String firstName;
   private int age;
   private String email;
}
import org.springframework.data.repository.CrudRepository;
import org.springframework.stereotype.Repository;
@Repository
public interface UserRepository extends CrudRepository<User, Long> {
}
▶ SpringFoxConfig 클래스의 어노테이션을 다음과 같이 변경하자.
@Configuration
@Import(SpringDataRestConfiguration.class)
@EnableSwagger2WebMvc
public class SpringFoxConfig {
//생략
}
▶ 애플리케이션 재시작 후 Swagger UI에 재접속한다.
User entity에 대한 HTTP 메서드 명세가 생성된 걸 확인할 수 있다.

출처
https://www.baeldung.com/swagger-2-documentation-for-spring-rest-api
'스프링 > 스프링부트' 카테고리의 다른 글
| [Spring Boot] 스프링 MVC 인터셉터란? 스프링 부트에서 사용하기 (0) | 2021.11.04 |
|---|---|
| 스프링 부트 AutoConfigure가 작동하는 원리 (0) | 2021.10.26 |
| [JUnit] 스프링부트 + junit5 환경에서 MockMvc로 컨트롤러 테스트하기 (0) | 2021.04.29 |
| [Spring Boot] 오류 해결: (org.springframework.http.converter.HttpMessageNotReadableException: Required request body is missing) (2) | 2021.04.28 |
| [Spring Boot] logback을 통해 스프링부트 로그 설정 시작하기 (0) | 2021.04.04 |


댓글